I firmly believe that a game is as good as its starting areas. This is most users’ first experience with your game, and where they’re going to get a sense of what they can expect as far as play mechanics and game design for the rest of the game. A good starting area:
- Introduces core game mechanics, teaching the user how to interact with the game world;
- Establishes the basics of the game’s story and setting;
- Sets the player up for success.
The starting areas for Final Fantasy XIV manage to pull this off quite well. Let’s take a moment to walk through Ul’dah, one of the primary cities in the game, and the starting area for three of the game’s classes.
Getting Established
Once you’ve created your character, you start out with a cutscene of being in a void filled with light, as a voice tells you to “hear…feel…think.” As you start to get your bearings, a dark being appears, and you transform into more advanced gear and clash with the dark being. With a flash, you wake up in the back of a wagon – it was a dream. From a storytelling perspective, this is foreshadowing: it gives you a vision of fighting some greater evil, but not as you are now, and establishes your character as likely having some sort of destiny.
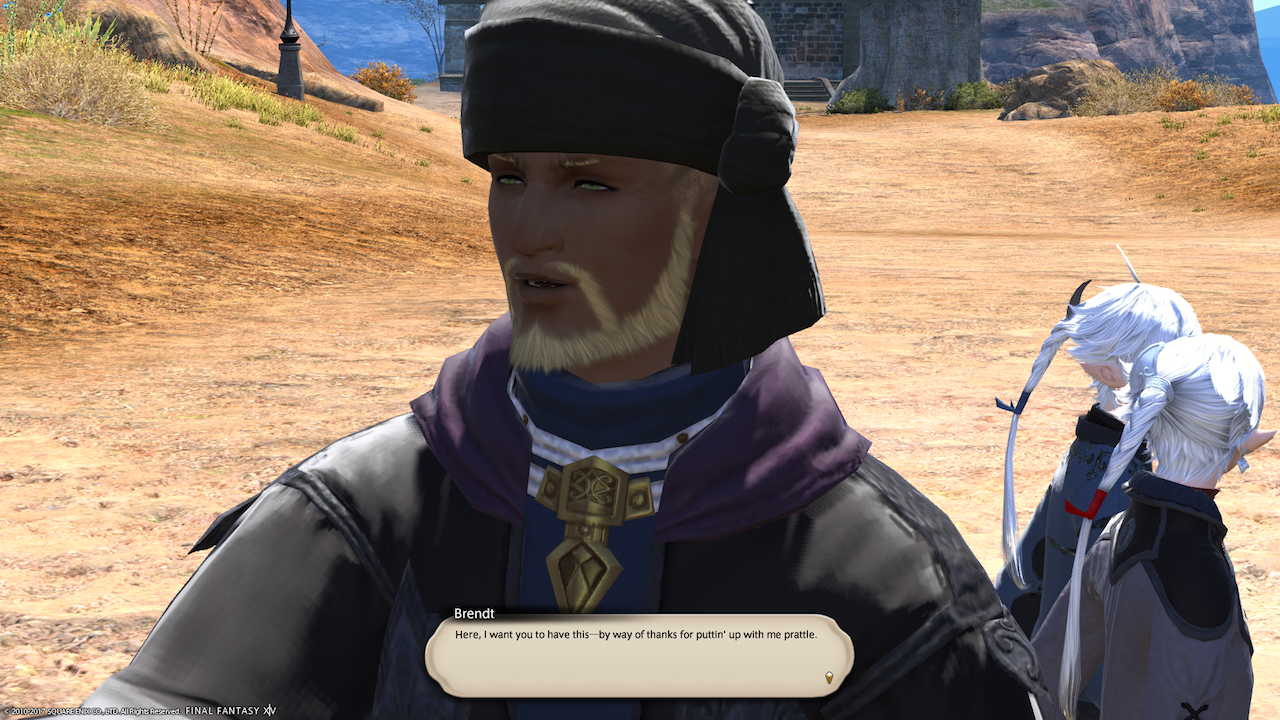
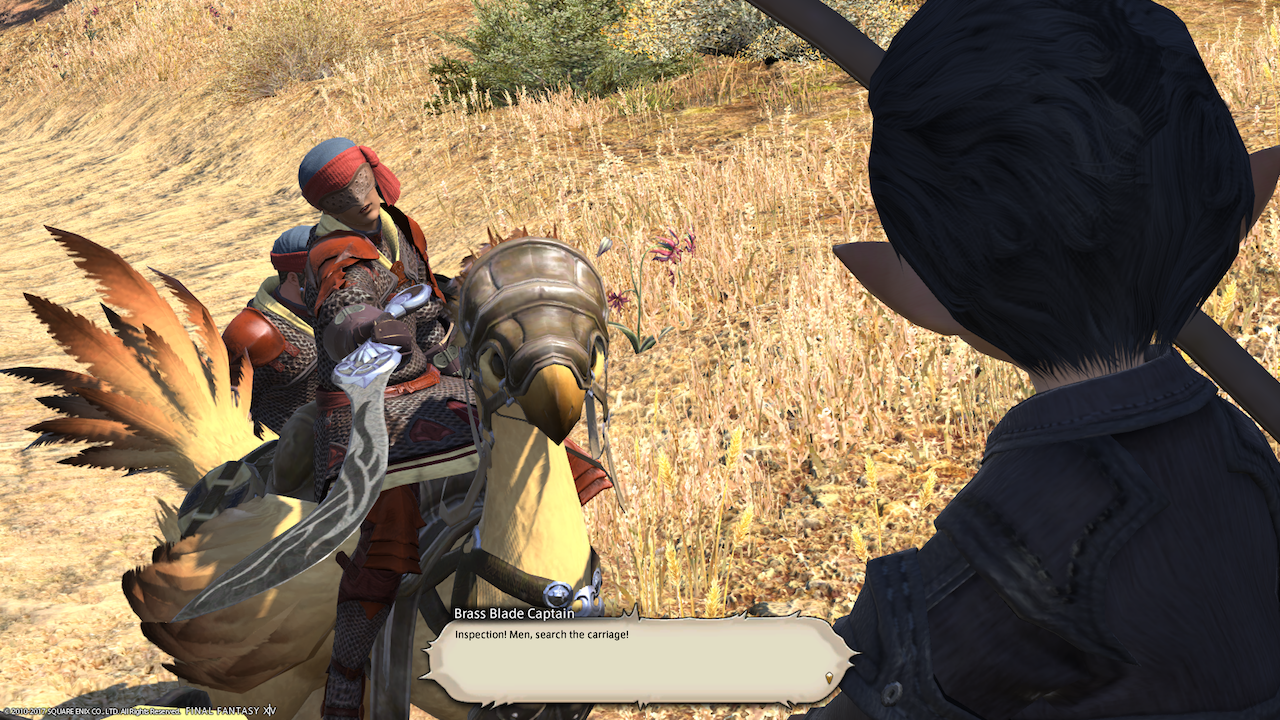 Back to the wagon: a friendly peddler also riding in the wagon asks after you and makes some small talk, until the wagon is stopped by soldiers. As they’re performing the inspection, an arrow flies out and strikes inside the wagon. The soldiers stop what they’re doing and go engage the Amalj’aa, sending the wagon onward to freedom. This is also for the sake of storytelling — it’s establishing who some of the enemies you’ll be facing will be, and what the current state of affairs in the game is. As further story foreshadowing, he calls out the twin youths also on the wagon, but then ignores them (kind of Chekov’s gun: you don’t explicitly call out characters that early if they don’t have some sort of later significance).
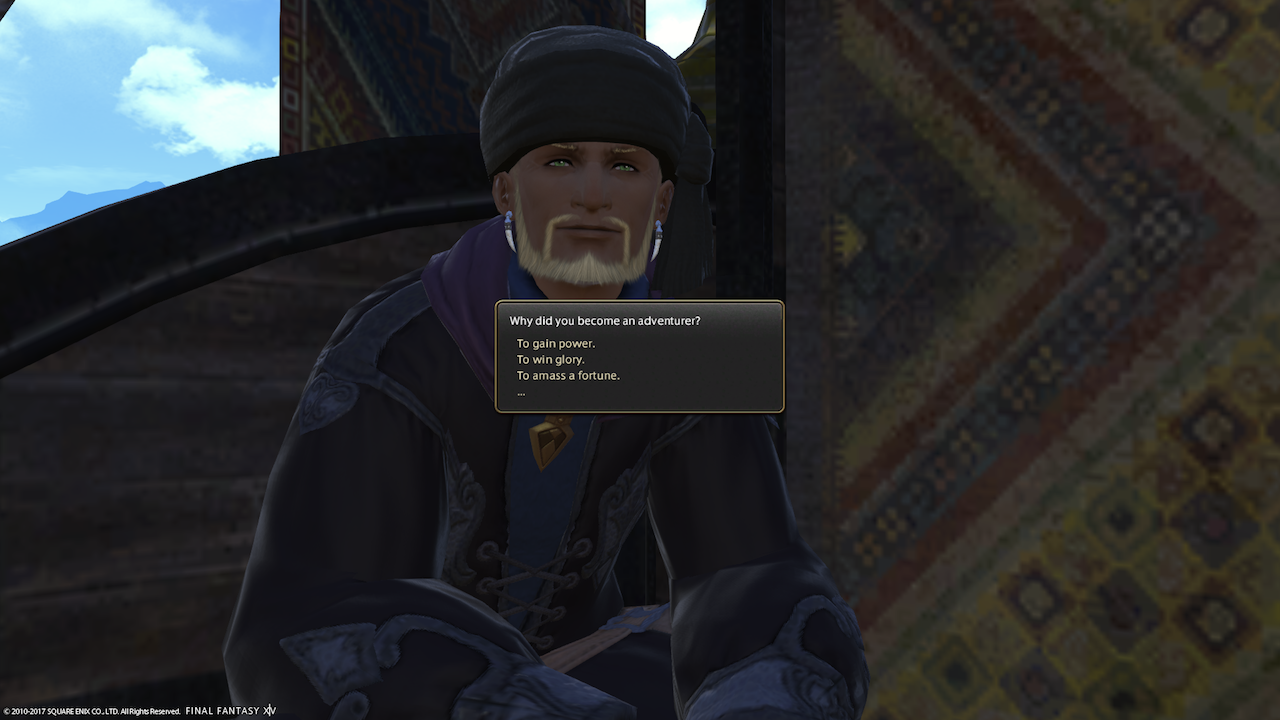 After escaping from the battle, the peddler goes back to talking, and asks you the first question of the game: “Why did you become an adventurer?” It’s not immediately clear what the impact of the question is, but it’s useful as framing for further dialogue, and eases the user into starting to interact with the game more directly. (It does matter, as we’ll see in a second, but a new user doesn’t know that.)
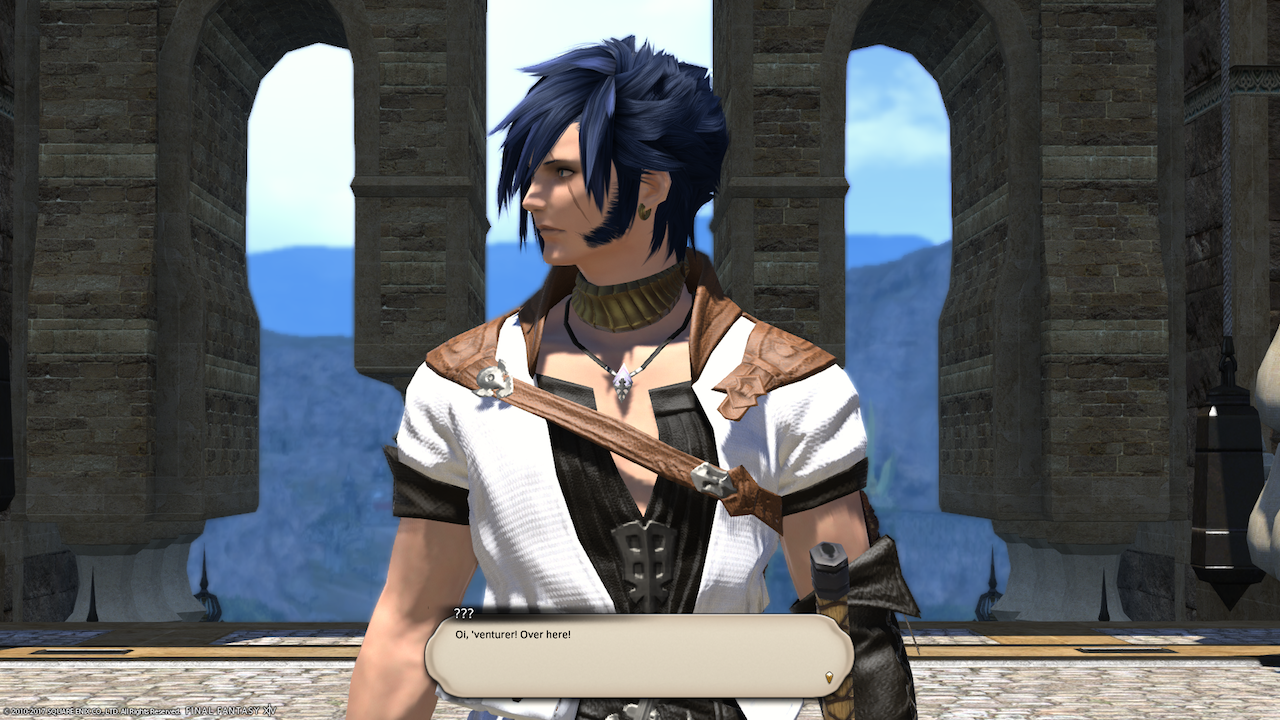 The opening cutscene sequence ends with the user’s character walking into the city, and an individual calling out to them.
 Now we’re finally getting to where the user can interact with the game more directly. The user is immediately prompted to choose a control scheme: either keyboard and mouse, or a controller (FFXIV has native controller support from day one, as it’s also playable on the Playstation 4). As soon as you select a control method, you’ll see a help window pop up in the upper left, explaining basic controls with your selected method. Text towards the bottom of the screen tells you what to do once you’re comfortable with the controls: go talk to Wymond (the character in front of you that has their name directly above their head and a giant gold quest marker above that).
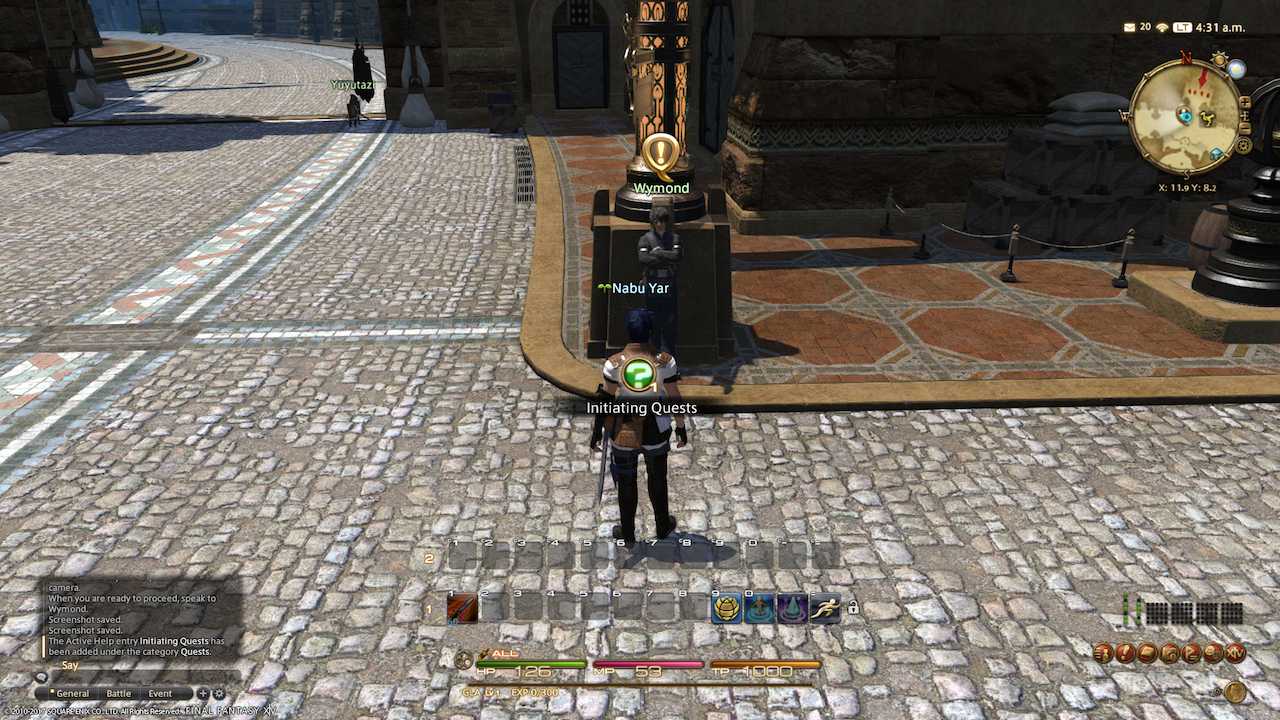 But wait, they haven’t covered how to talk to people yet in the controls! Well, I guess I’ll start walking toward Wymond anyway, since I know how to do that. When you get to within a certain proximity to the character, a new help icon pops up! Click it, and you’ll get a help window like the last one, explaining how to interact with NPCs and quests (right-click on the person or quest icon, pretty straightforward).
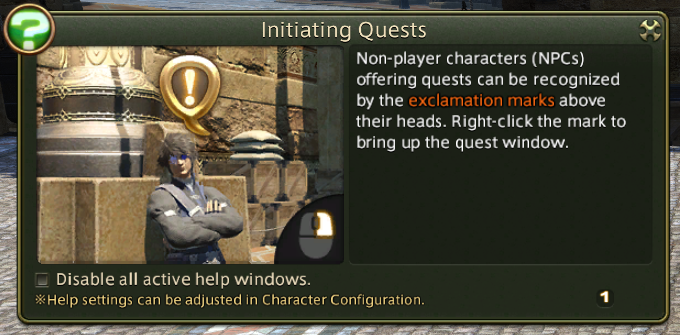
 Now that we know how to initiate a quest, when we right click on the quest icon, both a new help and a new window we haven’t seen before opens up. The help explains the new window: it’s the quest window, giving details about the quest (quest level, rewards, and a brief summary description, along with the options to either Accept or Decline the quest).
Let’s go ahead and accept the quest, which tells us to go see Momodi over at the Adventurer’s Guild. Where’s the Adventurer’s Guild? Wymond points it out: it’s basically directly in front of you. At this point, you might be noticing a trend of things leading you by the nose from point A to point B. It isn’t always like this (nor should it), but it makes a lot of sense for the first quest the player experiences in the game, and you’ll see more quest-driven breadcrumbs in the near future.
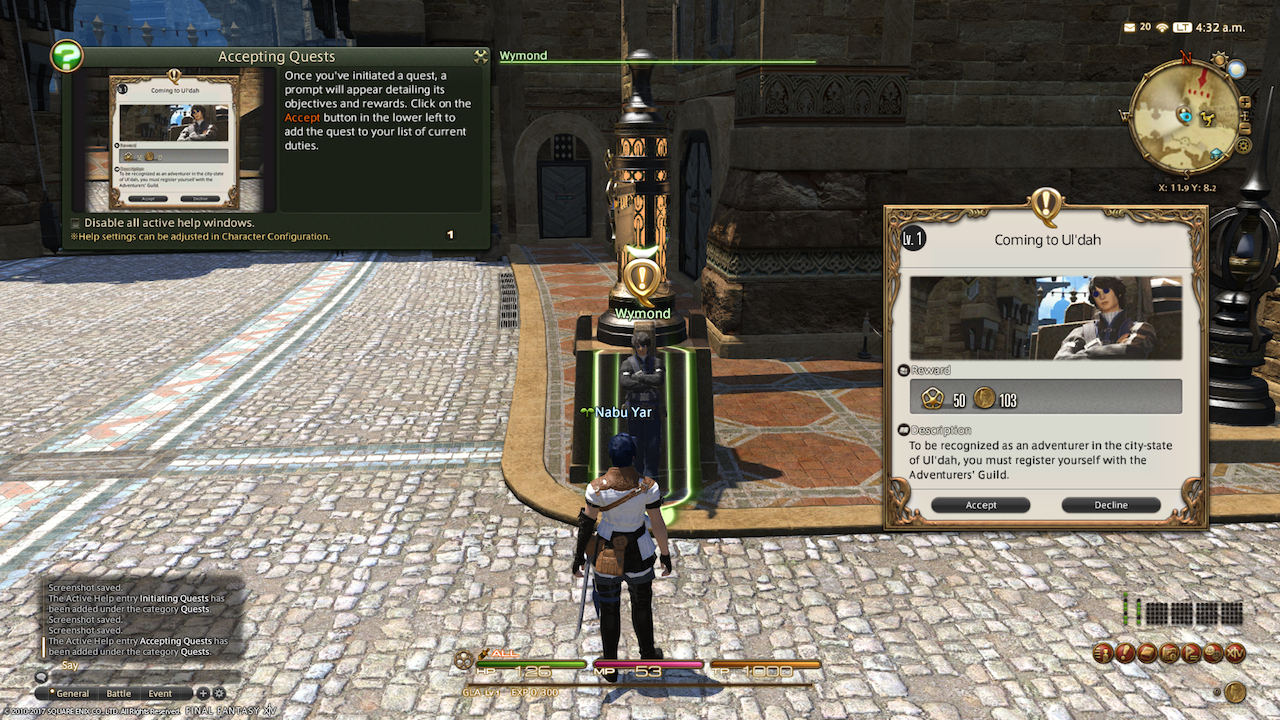
 At this point, it overtly introduces the Duty List (an on-screen list of active quests), but there’s also some other things going on that it doesn’t directly introduce yet, but is still present: directly above the duty list is your mini-map, and you’ll see a big green completion mark at the edge of it in the direction you need to go, and becomes visible at a specific location on the mini-map once you’re close enough. Using the map does have a help later on, but for now it’s just there and immediately useful if you happen to pay attention. This may seem minor, but from a design perspective, I think it’s great for two reasons: 1) it starts the gradual easing process of weaning the user off getting an explainer every 5 seconds; and 2) it doesn’t water down the interface just because you’re new — some games don’t even display parts of the interface until you’ve unlocked it, a decision I strongly disagree with, since it prevents players from getting comfortable with where and how to find things on their screen.
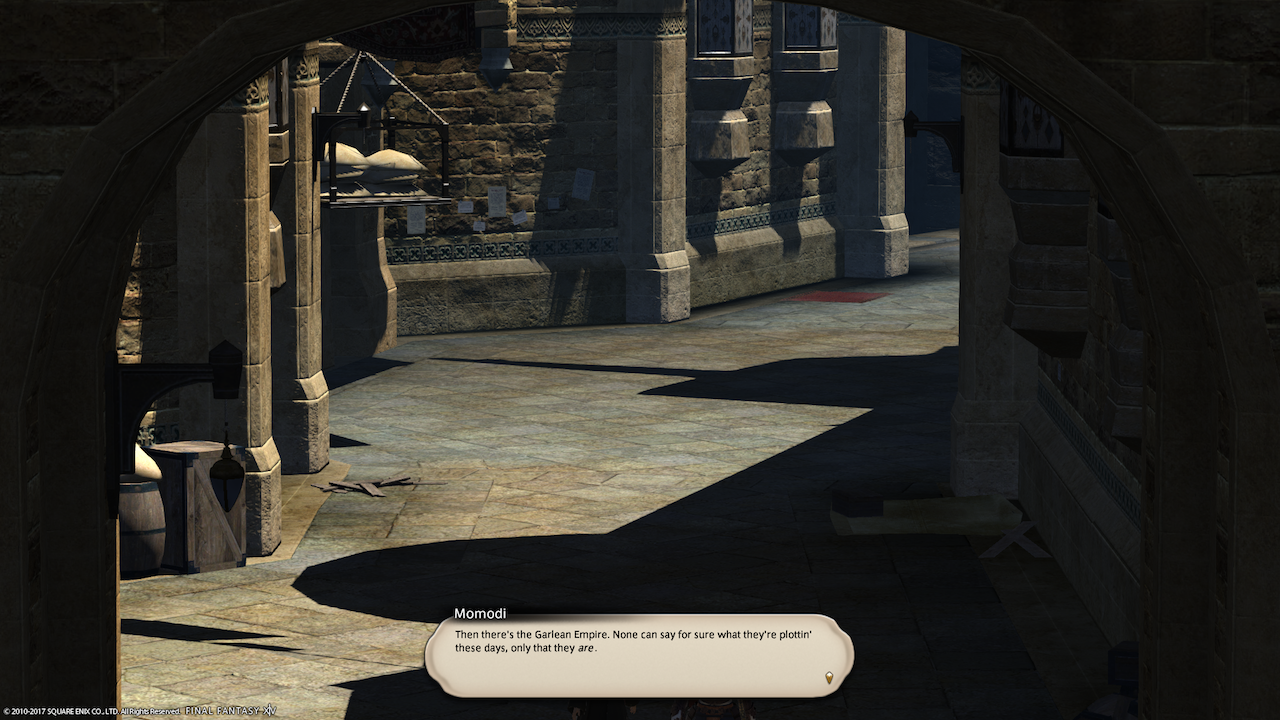
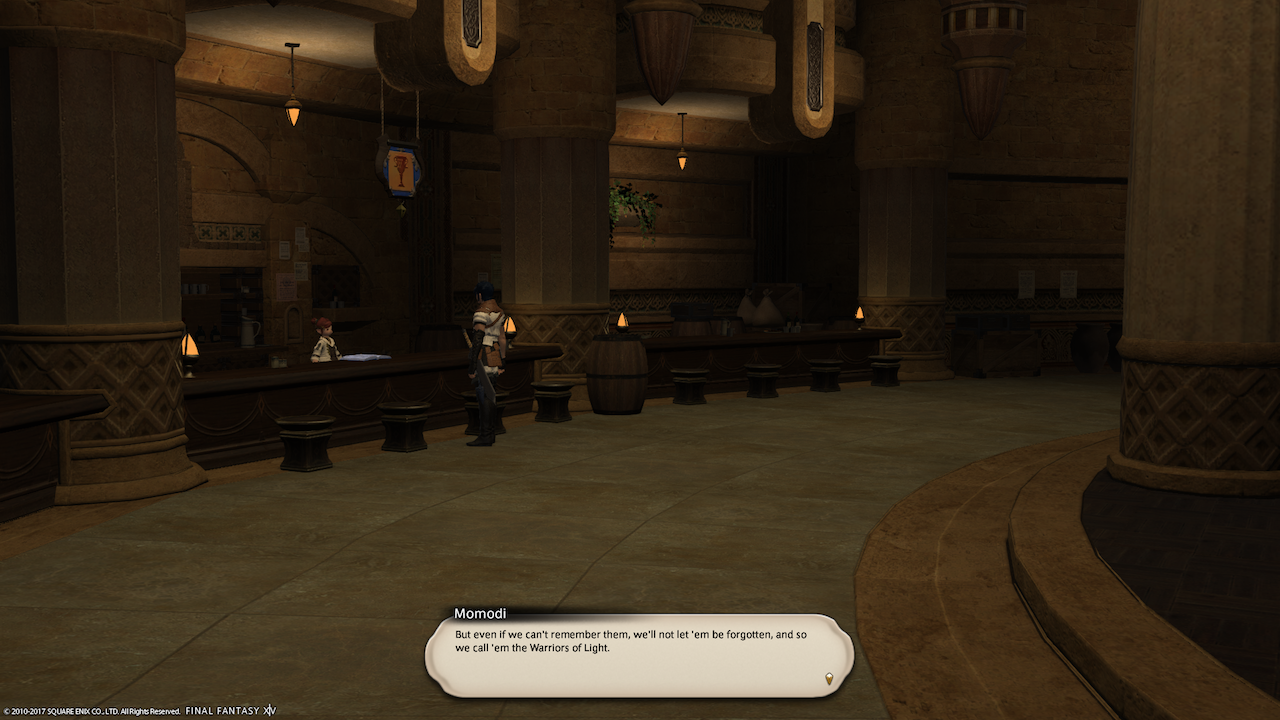
As you approach Momodi, another help appears, this time telling you how to complete a quest. Once you talk to Momodi, you end up in another cutscene, where you’re going to get some exposition. They’re going to introduce several story elements at this point:


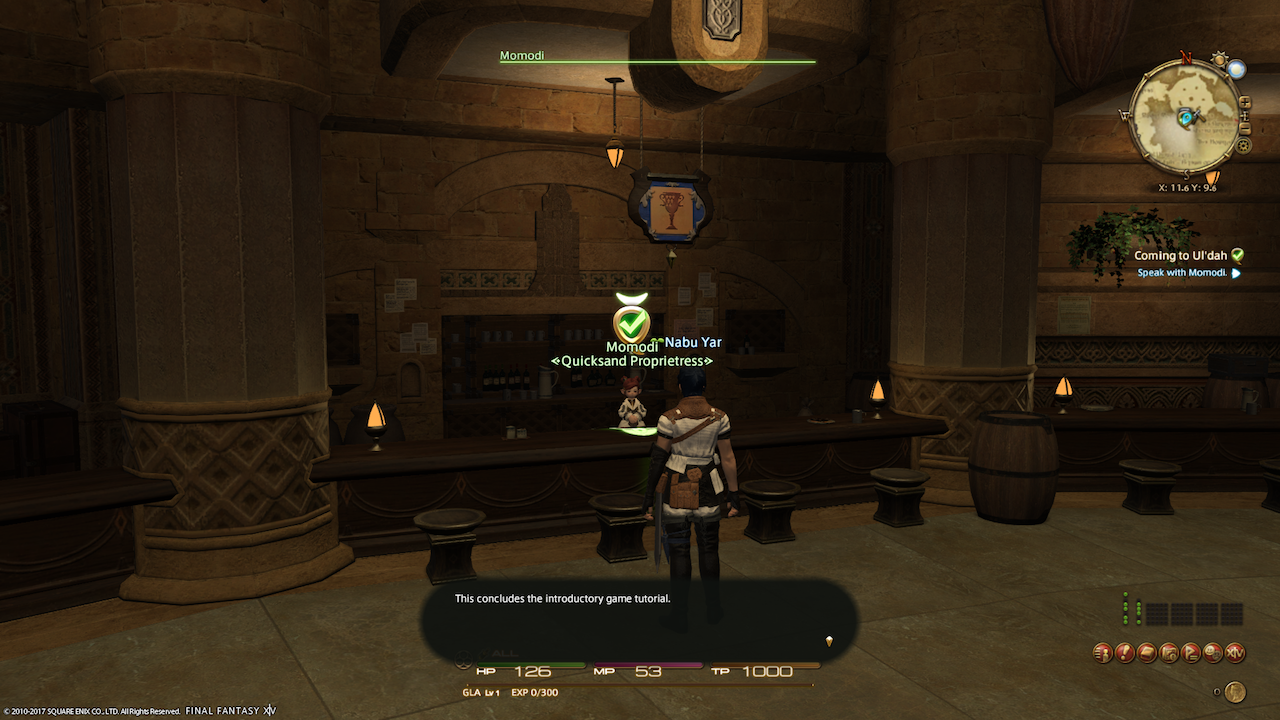 Once you’ve completed the cutscene, the quest completes, and you get another message: congratulations on completing the tutorial. This is notable for a few reasons: first, at no other point does the game mention that you were in a tutorial. This is a little sneaky, but it makes sense given that they really want the players to go though it (I’m pretty sure you can’t actually skip it), and some players prefer to skip tutorials. Second, it resets expectations that you won’t get quite so much handholding going forward — it’s reasonable to assume that a tutorial is going to be simpler and more on-the-nose than other quests.
This seems like a good moment to pause and go over what the developers have introduced and done in just the first 10 minutes of the game:
- Established multiple story points: your vision/dream, who you’ll be fighting, recent historical events (the Calamity), and the Warriors of Light;
- Introduced core game controls through relevant play mechanics (move and interact with the world, get and complete quests);
- Set the user up for success: there’s very little room for getting off track at this point (I didn’t mention it here, but during the tutorial period, you get turned back when trying to wander too far into town, preventing new players from getting too lost), and they reward you for going where they ask you to.
Stay tuned for part 2 of this series, covering the starting area quests!