In Part 1 of this series we covered the opening cutscenes up through the end of the opening quest tutorial, covering some of the design decisions and establishing story elements that the developers implemented to help the player feel connected with the game. To recap, they:
- Established multiple story points: your vision/dream, who you’ll be fighting (both implicitly in the cutscene and explicitly in dialogue), recent historical events (the Calamity), and the Warriors of Light;
- Introduced core game controls through relevant play mechanics (move and interact with the world, get and complete quests);
- Set the user up for success by giving explicit guidance through the tutorial period, and rewarding the player for going where they ask you to.
Let’s dive in to the next part: the first few quests the player experiences.
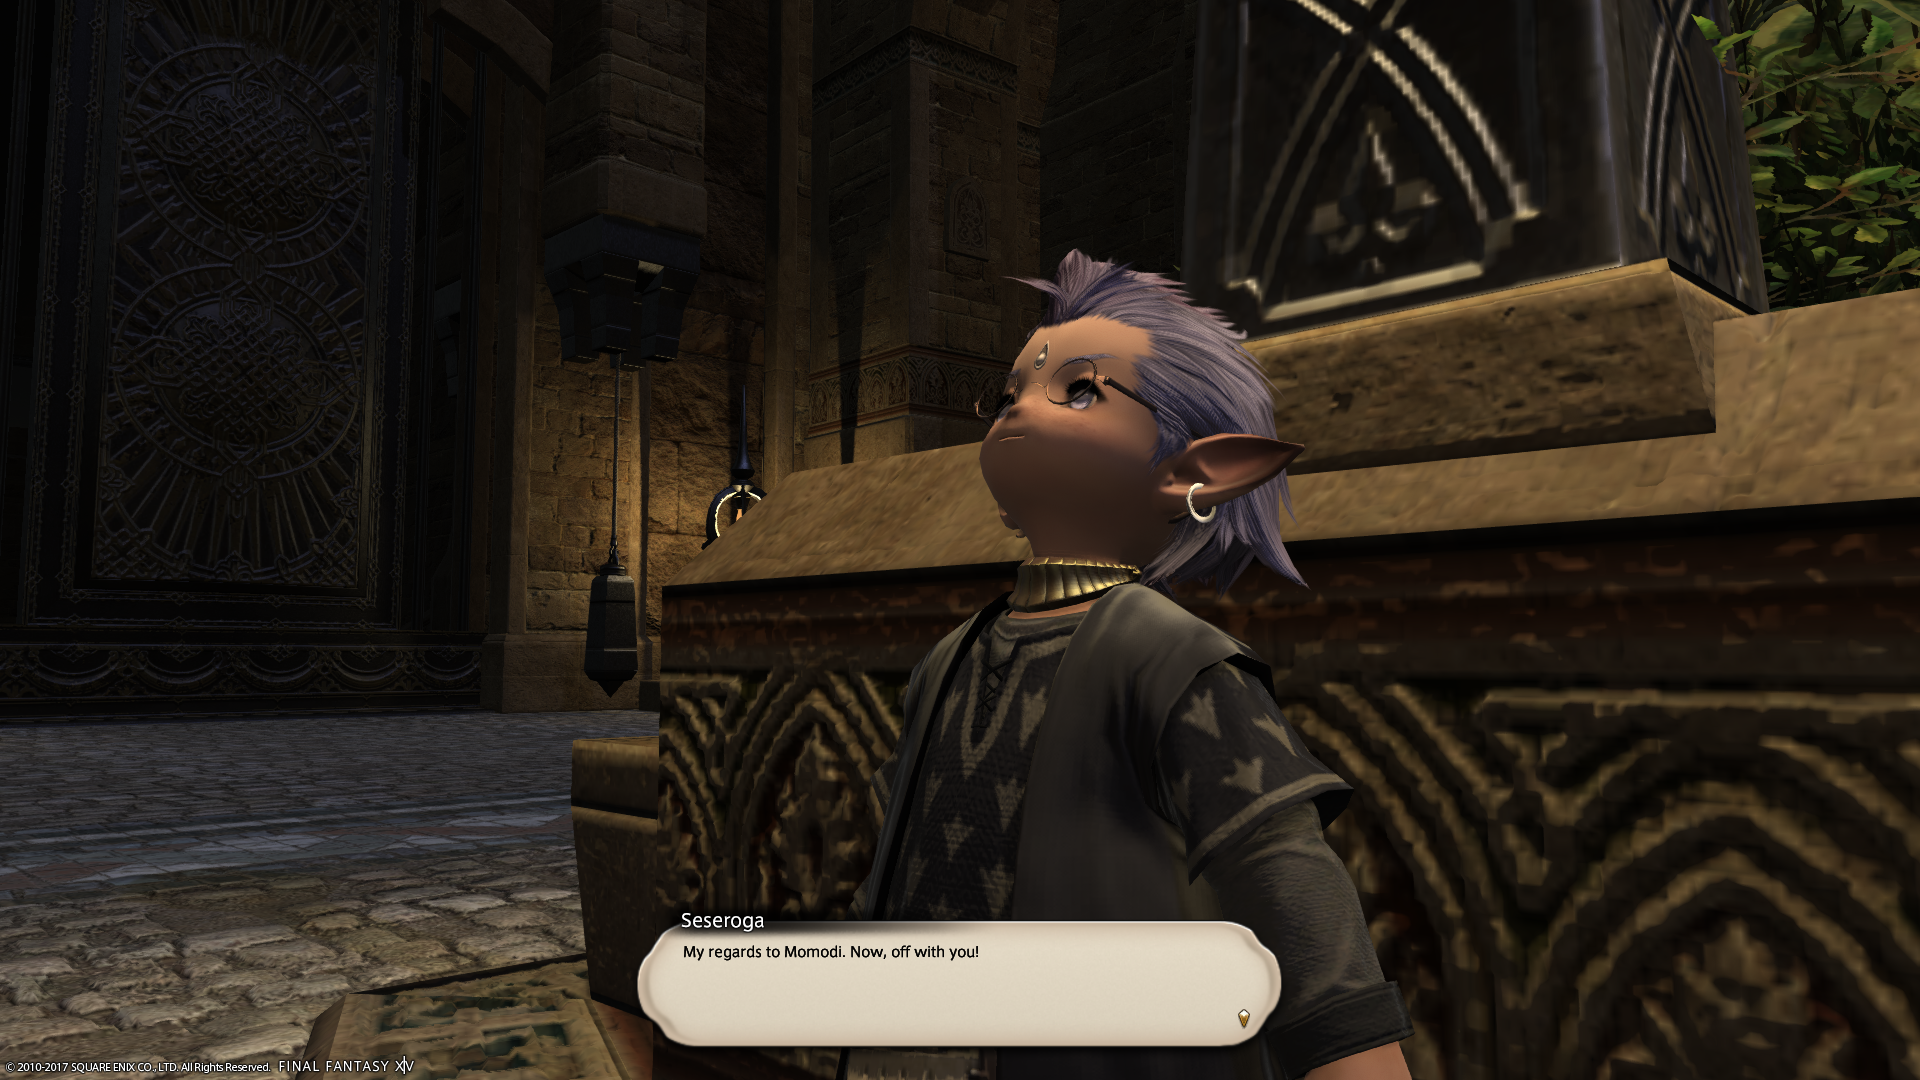
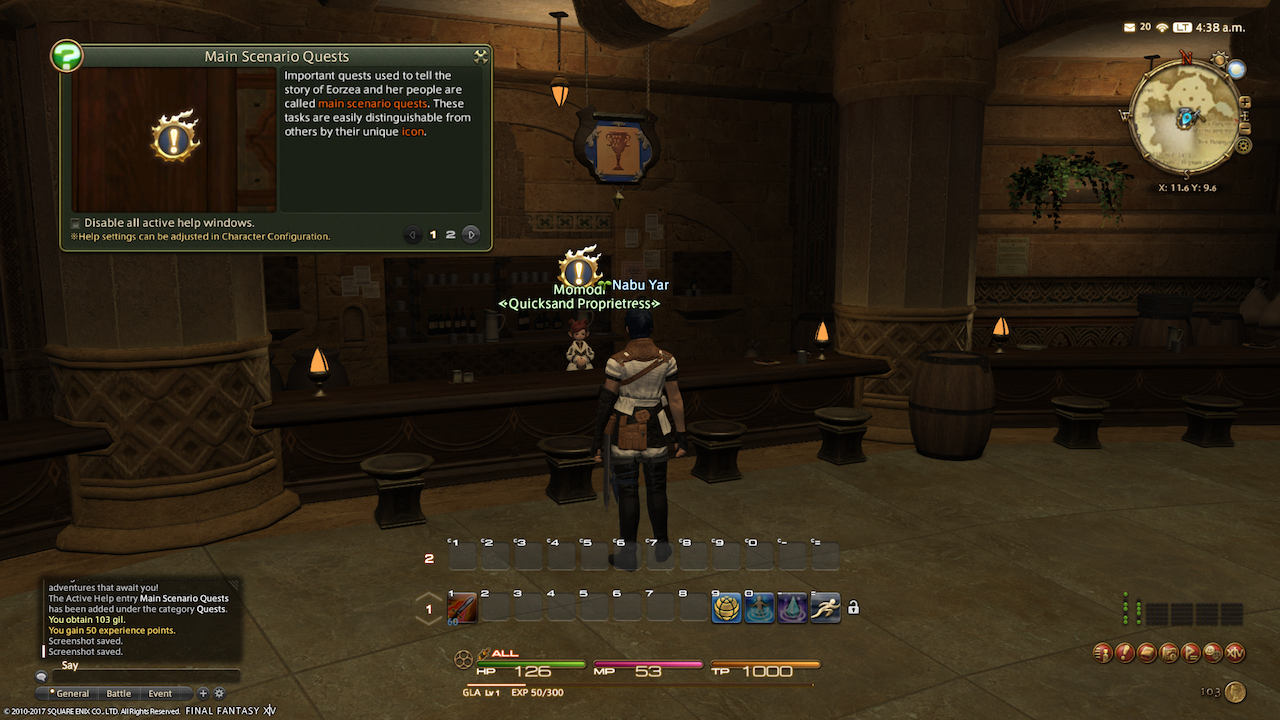 After completing the tutorial quest, you’ll find yourself in front of Momodi, who has a new quest for you, but with a bigger, fancier quest icon than normal. They’ll explain the different quest icons now (the meteor fire around the quest icon means it’s a “Main Scenario Quest” (MSQ), and will progress the main plot. They also call out a blue quest icon with a plus on it, which signifies a quest that may not be part of the MSQ, but is still important — usually unlocking a new ability or feature).
It’s worth noting (though most players won’t notice) that until you initiate this Main Story Quest, you’re actually blocked from leaving the area. You can wander around the bar and talk to NPCs or other players, but you won’t be able to get much past the Quicksand until you’ve accepted the quest. The quest is straightforward: visit a few specific locations around town. This is a forcing function: the player needs to get their bearings, and this will direct them to key areas they should know about. It also introduces the concept of quests requiring you to complete multiple objectives. The three objectives are: visit the main Aetheryte for the city; visit your class trainer; and visit the shopping district.
The first objective is to visit the main Aetheryte for the city. Like the initial quest covered in part 1, the map will have an indicator of where to go. On your way to the Aetheryte, you’ll run directly past another quest giver — you may as well see what they want. The quest is straightforward (deliver a message), and if you look at your map, you’ll see that it’s just past the Aetheryte you’re on your way to anyway. This is a very intentional design decision: while you can do things out of order, most quests have a general flow where the objectives don’t put you at odds with other objectives. By establishing this expectation with players early, you encourage players to pick up quests as they go along, without needing to worry about being sidetracked too much.
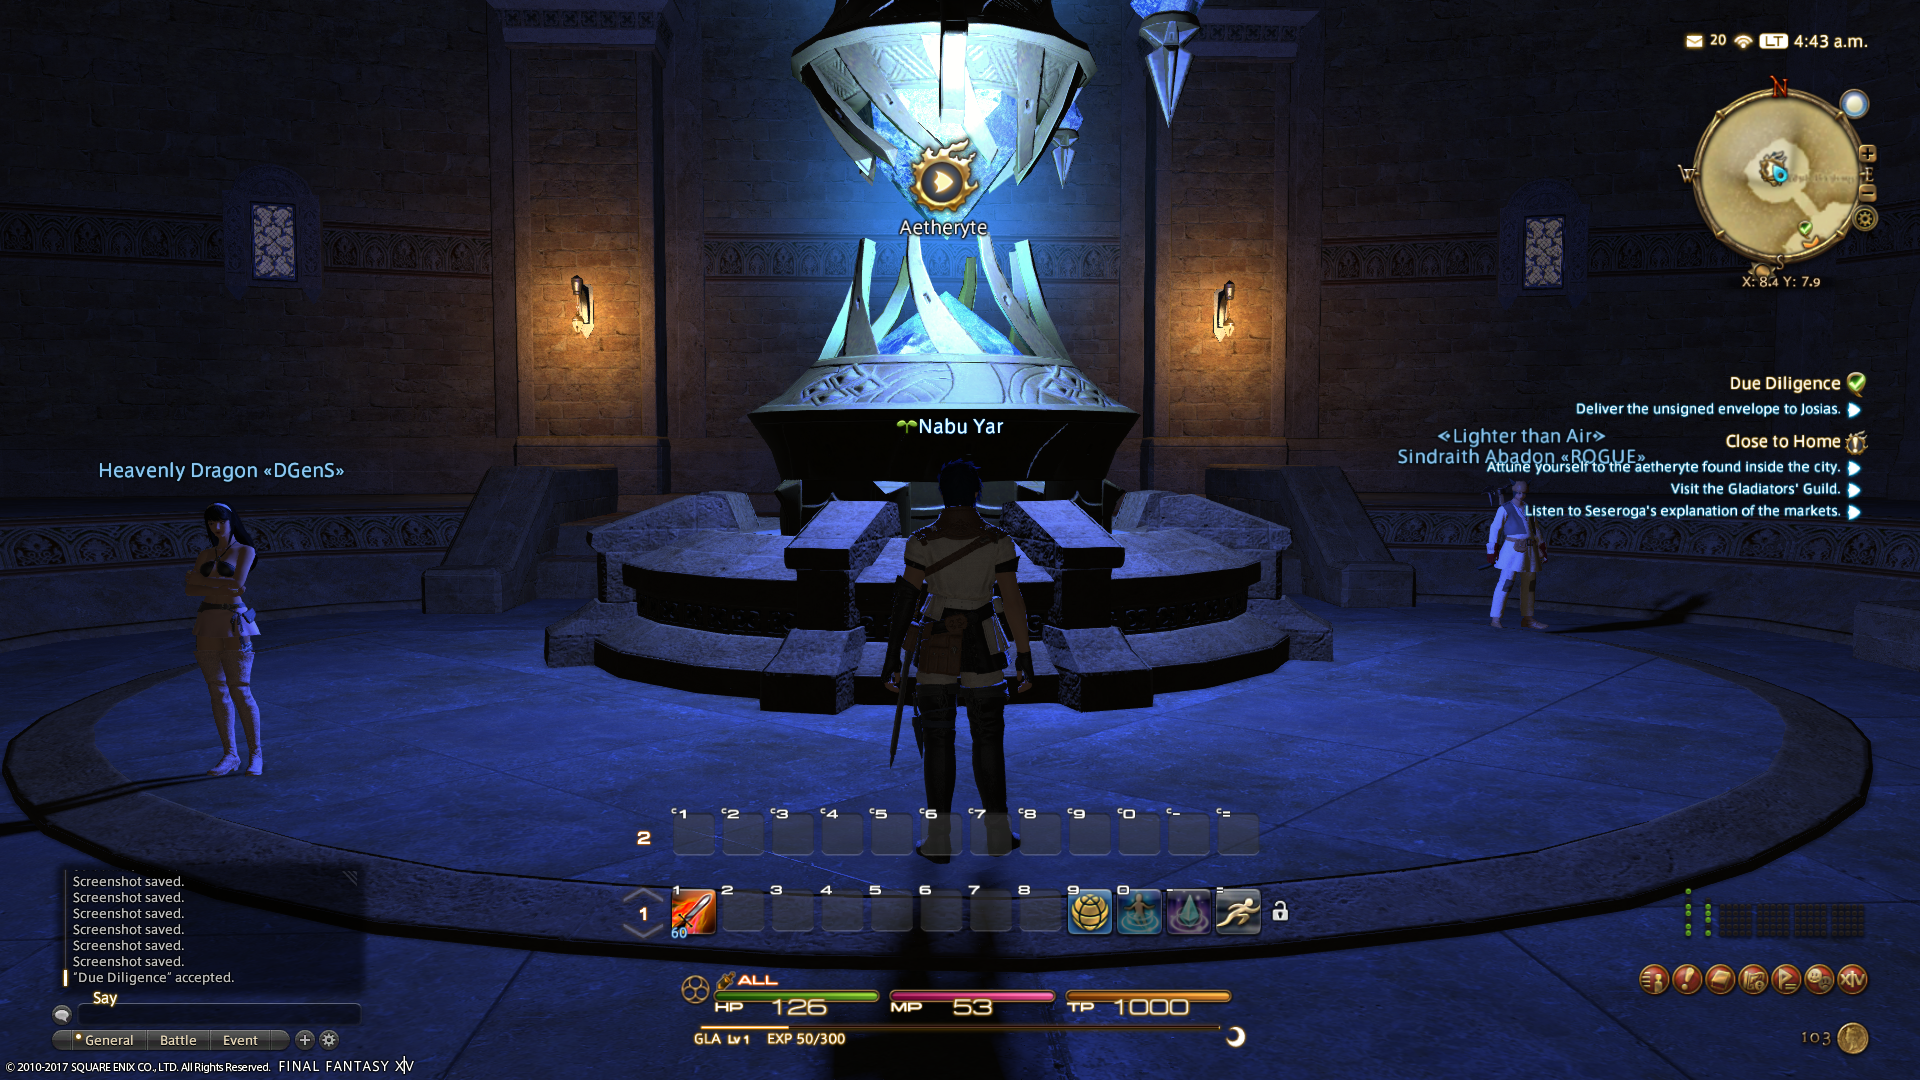 Moving onward to the Aetheryte, you need to interact with it, using the interaction metaphor you’ve already been introduced to. Doing so triggers a cutscene, where an NPC explains more about aetherytes, how to use them, and why you should always interact with them when you find a new one (namely, you can then use it as a teleport point). When the cutscene completes, you’ll receive a large notice saying you’ve now unlocked Return (a free teleport back to your “home” aetheryte, which is also where you’ll resurrect if you die). Now it’s more clear why you needed to do this quest before you could explore elsewhere: until you’ve set a home point (which you did by interacting with the Aetheryte), the game doesn’t know where you should go when you die, and there would be no ability for you to use to reset your location if you get lost.
The next objective for the main scenario quest is to go talk to your class trainer. You also still have the other (normal) quest you picked up on your way to the Aetheryte. Both quests are likely leading you onward. On your way to complete Wymond’s quest, you’ll see another two quests available in or near the Pugilist’s guild (along with your next MSQ objective, if you happen to be a Pugilist). May as well pick up the new quests while turning in Wymond’s. One quest will take you outside, but let’s not go there yet, since so many other quests are still leading us around town. Keep heading north, following the objective markers on your map. This is a quest chain of breadcrumb quests, a series of quests where each leads you down a specific path through the city. In this case, you’ll talk to someone about a debt, completing one quest. They’ll offer another quest to go sell off a ring. The ring will get sold, completing a quest. This unlocks a new quest (from a different NPC), to go talk to someone’s husband. These all lead you further through the city, and past some mini-aetherytes, which you can (and should) interact with.
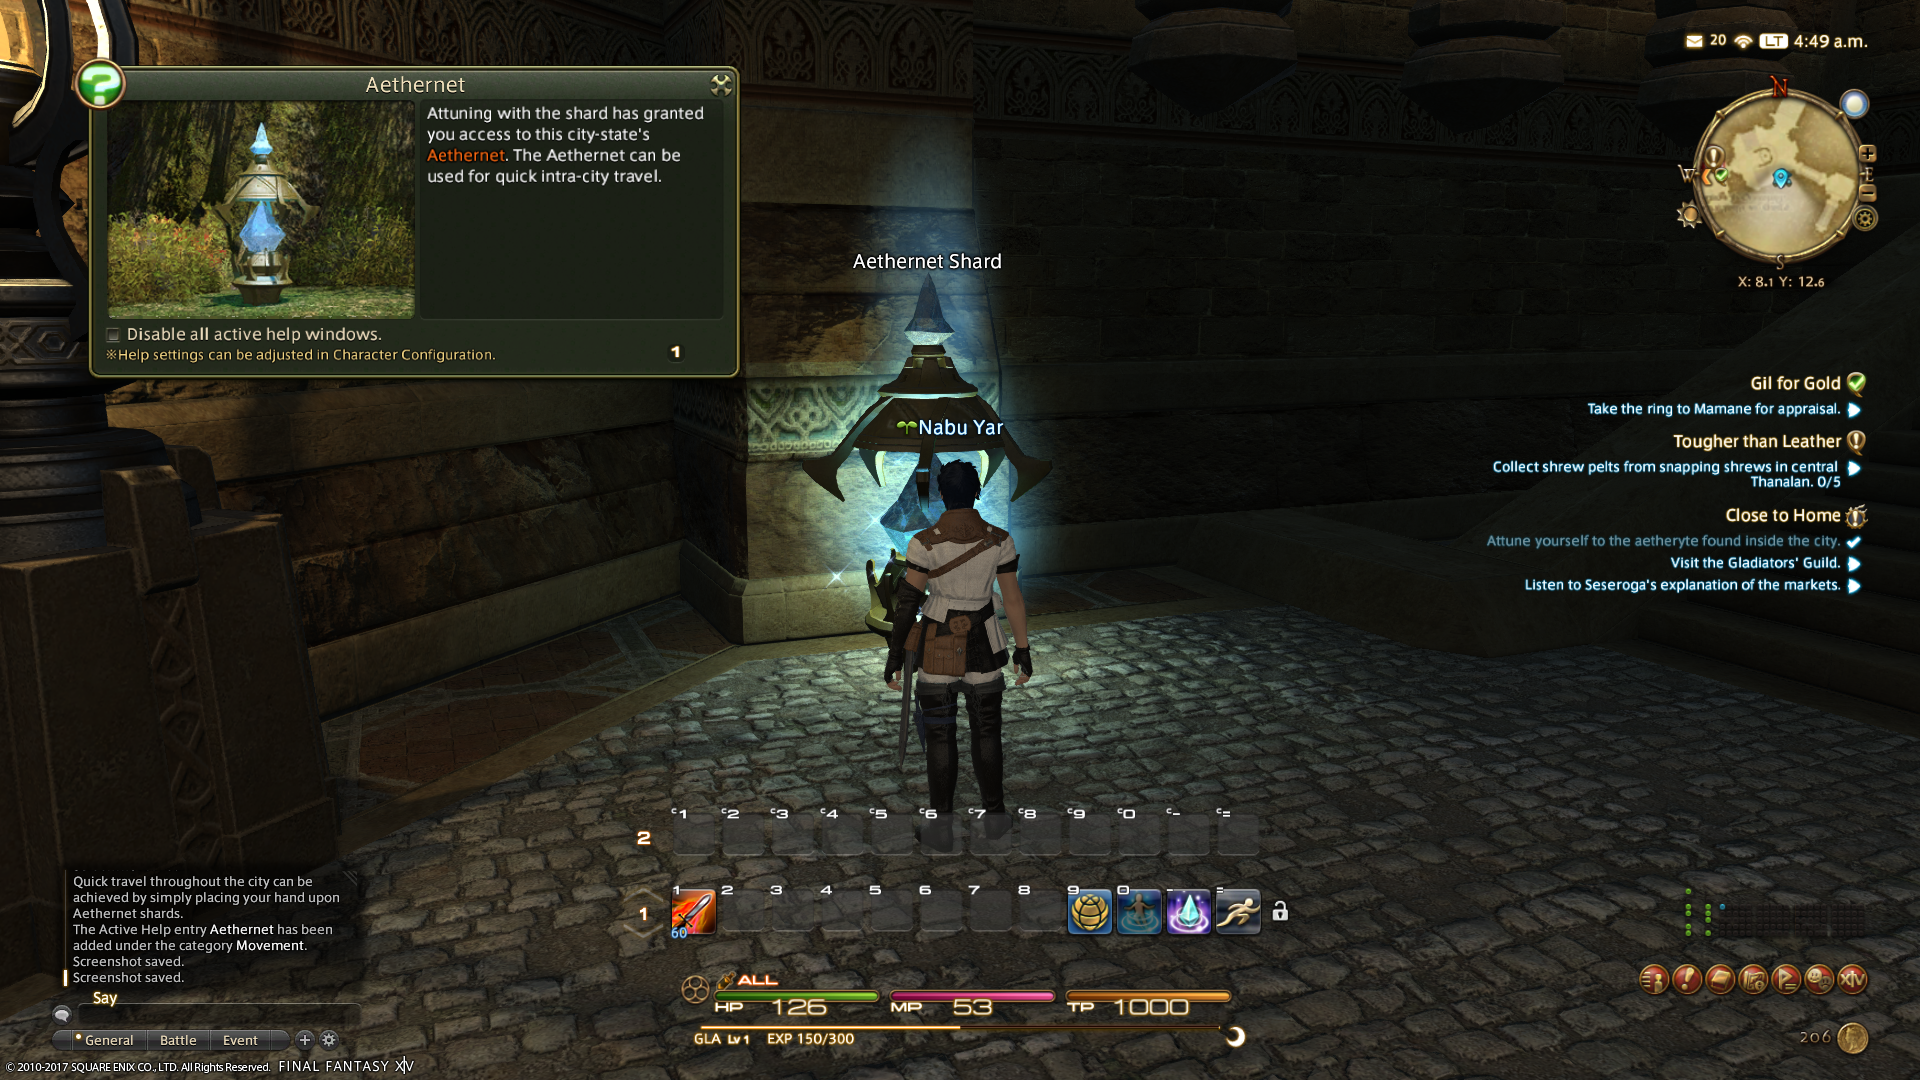 The mini-aetherytes and the quest flow all comes back to positive reinforcement: if you trust the process and the direction the game wants you to go, you’ll be rewarded (explicitly with the quests, and implicitly with the mini-aetherytes — when you unlock them all, additional teleport locations are added, which allow you quick exits from the city. They don’t really tell you this when you first start interacting with them, just that they’re useful for teleporting around the city).
 The breadcrumb of quests you’ve been following takes you into the next part of the city and through the Gladiator guild (which in our example character’s case, is their class trainer). From there, another series of quests takes you to each of the guilds in the town (from goldsmithing to mining to tailoring), then up the stairs to another area, where you’ll find the alchemist guild. It’s at this point that the game first asks you to double back: the alchemist guild is at the end of a long hall, and the breadcrumb quest you pick up takes you all the way back to near the weaver guild. That’s a long way to run. Good thing you don’t have to, if you trusted the game! If you’ve been tagging each mini-aetheryte as you’ve been sent around town, then you can easily and quickly teleport back to the weaver guild. They don’t explicitly say to do this anywhere, but they make it easily discoverable: the mini-aetherytes outside both the alchemist guild and the weaver guild are quite prominent and hard not to notice as you run past. This is the first time there’s an occasion to really use the mini-aetherytes (the citywide aethernet). This is a learnable moment, where the game gives you tools but lets you figure out how best to use them. The reward is intrinsic instead of extrinsic: you are rewarded with saved time and the satisfaction of having figured something out, rather than receiving an explicit reward for doing something.
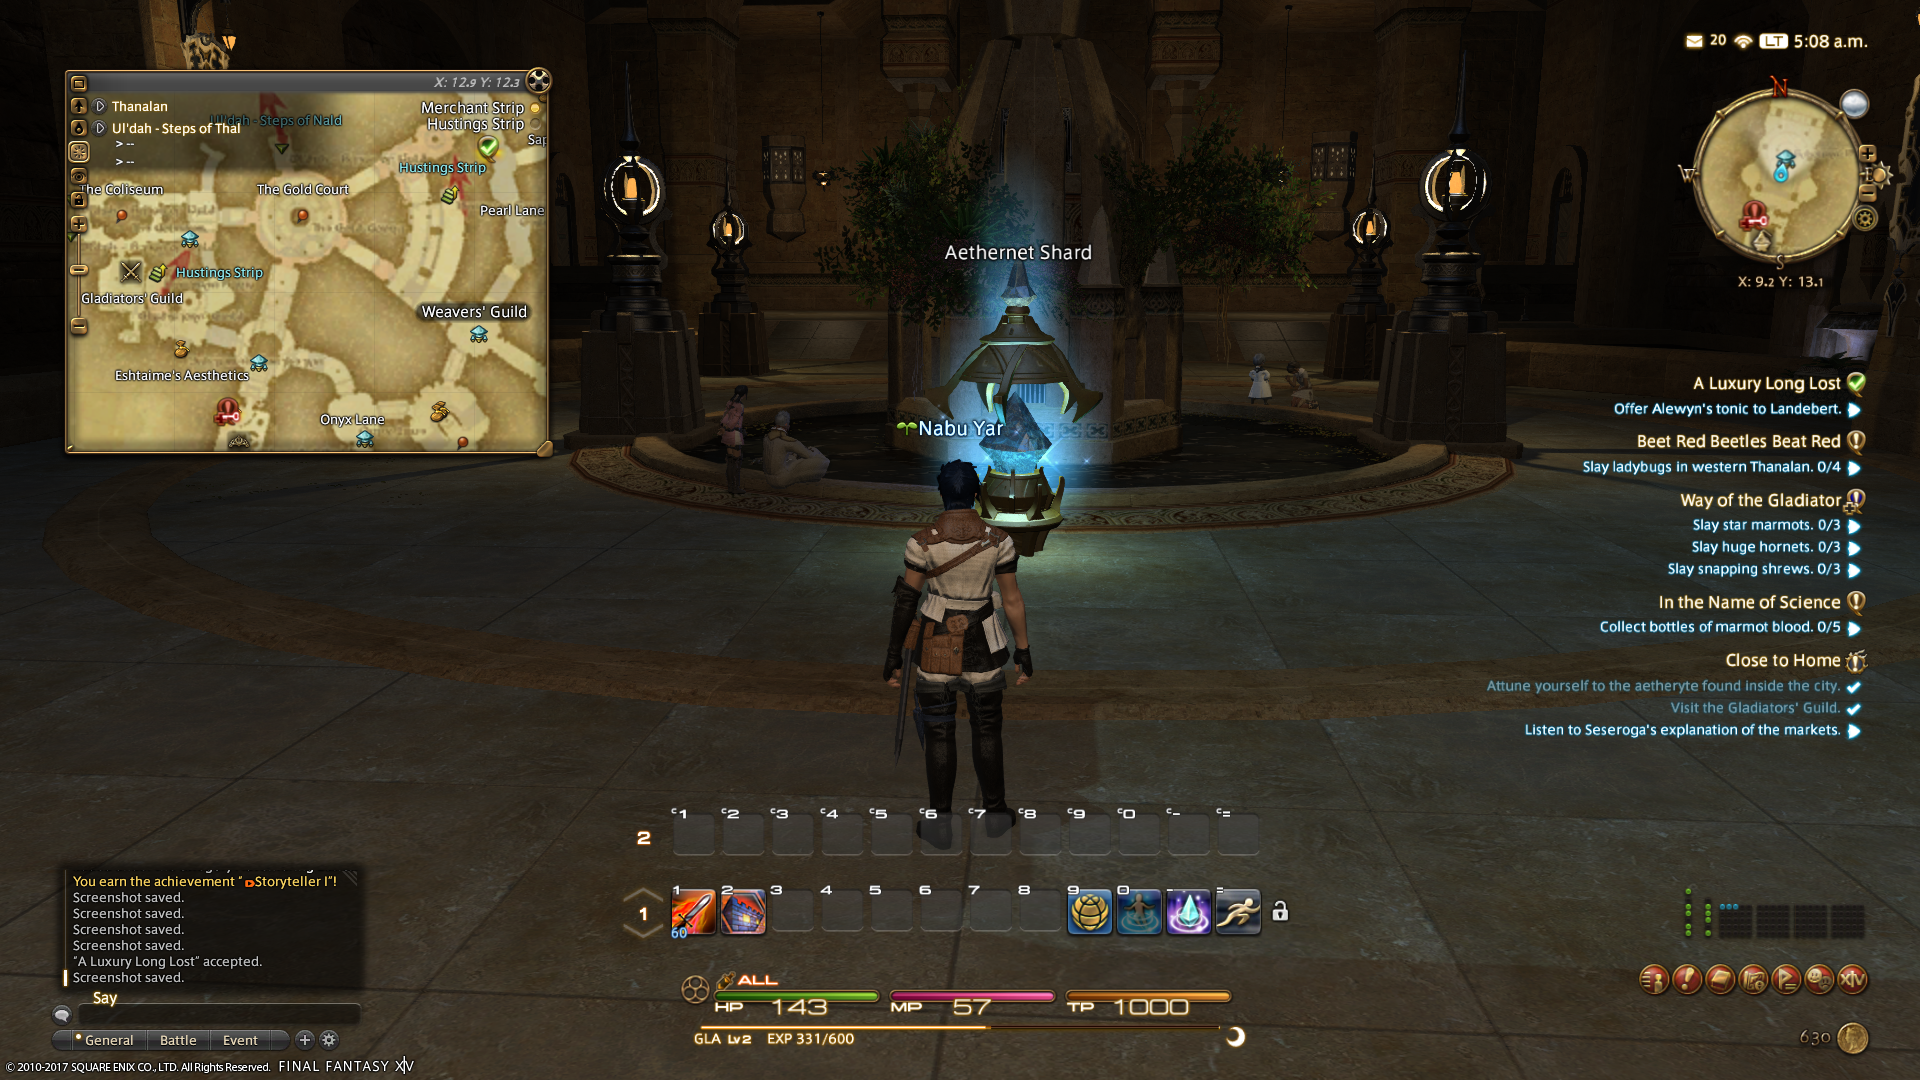
 Once you’ve teleported back to the weaver’s guild, it’s a short walk to the next quest. This gives one more breadcrumb, into the shopping plaza (where your main scenario quest also wants you to go). Here is where the breadcrumb quests end: you’ve now done nearly a complete circuit around the city. The MSQ objectives are also completed, leaving you to return to Momodi at the Quicksand, which (if you check your map) is just to the north of you, next to your last mini-aetheryte, which unlocks easy teleportation to each of the city’s exits. In the process of just trusting the flow of the game, you’ve gained several levels and a small cache of gil (in-game currency), all before you even need to step outside of the city or fight anything.
This was a fairly involved step-by-step of the starting area quests, but hopefully you can see why: there was a lot to call out that they got right! The design of the starting area quests reinforces the contract between the game and the player (i.e., if the player trusts the game, the game will do its best to reward the player), and introduces both a series of extrinsic motivators (do quests for experience, gil, and gear) and intrinsic motivators (use the tools of the game to have a more fun or efficient experience) that establish expectations for the rest of the game. Something else that they get right with this: you have the opportunity to get familiar with the controls and how to interact with the game before you ever have to get into combat. This may not seem like a big thing for those who are already comfortable with MMOs, but for a genuinely new player, setting aside this space to get comfortable is invaluable. Different quests introduce different play mechanics, but with instruction and tooltips (which can be turned off if you’re already comfortable with the game), and in a low-pressure environment. And finally, everything loops back around to a conclusion relatively quickly: even reading all the text, doing all the quests, and taking your time, you’ll be done and ready to go venture into the world in about an hour.
Thanks for reading! I hope you enjoyed diving into the starting area quests for Final Fantasy XIV. If you have comments, feedback, or would like to suggest other topics to examine, please let us know!